Fabric envelopes
We all use envelopes. We need them for carrying important papers. We need them to store those valuable hard copy data. We need them to collect bills in one place.
If we look around our house or office we will find numerous items calling out to us to be stacked in an organized manner. These essential documents deserve folders and organizers. Allotting a folder to each one or each category of them will not only make things look neat and tidy but will also save us a lot of trouble hunting through stuff.
Now that the need for folders in established why not make these folders attractive? Let us move away from the store bought plastic ones and graduate to a fabric folder. A super simple DIY fabric folder!
You could use jute or burlap as I have done or go for any other thick material. Or you could use an interfacing to give a rather thin material some stiffness. Don’t forget to use this size calculator for your envelopes.
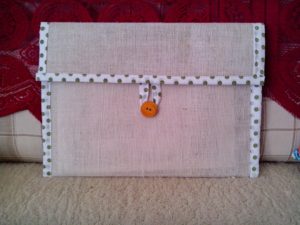
The folder that I have made is 15×10.5 inches in size. You can always make alterations as per your need. I needed it to carry some A4 size documents so this size. I may soon be making some in different sizes as well. Of course, to start making different sizes, you’ll probably need one of the best fabric cutting machines to make sure the pieces of fabric are the correct size and are cut accurately. This will ensure that the final design of the fabric envelope looks professional. You won’t want scruffy edges on the envelope, so it’s important to cut the pieces properly.
As I said this was an extremely easy DIY craft piece which hardly takes time to take shape. For the one mentioned here (the green polka dot folder) this is what you need:
– Burlap or jute – 15 x 23
– Fabric of choice for embellishment (for front) – 15 x 4
– Piping fabric – you will need to measure the raw edges that require piping and prepare accordingly. Alternately you can use fabric tape which is bound to be a lot easier. Since I did not get that I went ahead and made the piping.
– Self-adhesive Velcro – 2 pcs
– Thread matching the fabric or burlap
– A pair of scissors
– And last but not the least a sewing machine.
How to make:
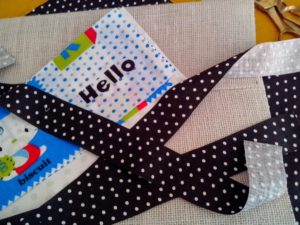
We have all made envelopes when we were kids and this is one of the simplest ways to do it. Take the burlap lengthwise and 9 inches from ones side fold it towards the middle.
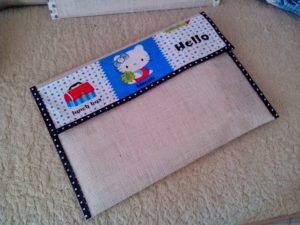
Now take the other end and make a 4.5 inches fold towards the middle so that it overlaps the other folded end. Press well to make distinct fold marks. These overlapping parts form the back of the folder. Turn over to get the front portion.
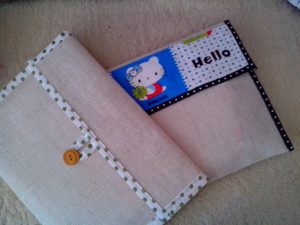
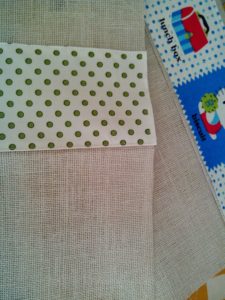
Open up the fabric and align the embellishing fabric on the front portion. Stitch it in place. I have attached it towards the bottom.
 Since edges look ragged attach the piping. Begin with the both breadth sides – the 15 inch sides.
Fold it back and stitch both the open sides so as to give it the shape of the folder or envelope. You basic product it ready. Now stitch or stick the fabric tape on the edges. Since you have already stitched the sides they will not open so sticking will be just fine.
All that remains to do is ensure that the folder keeps papers secured – so place the Velcro patches. One good way to do it would be to attach both sides to each other. Now peel off the patch and stick to one side. When well secured peel of the patch from the other piece and close the flap of the folder. The Velcro will stick to the other side in just the right place.
And in no time your DIY fabric folder is ready!!!