Granny Square Pattern
Granny squares!
The name has always intrigued and interested me. What is the connection with grannies? Probably crochet was something that was only associated with grannies at one point in time and hence the name.
I too used to have a granny, in fact a great grand granny, who was an expert crocheter. Her house was strewn with crocheted items. Any where the eye wandered a crocheted piece would pop up. It could be the large table spread or the inconspicous little glass cover by her bedside. And the beads that hung from these covers would tinkle against the glass when a soft breeze visited.
Today when I crochet these granny squares I am most reminded of my great grand granny. Silver hair, sharp eyes and fingers swiftly moving between yarn and hook. Sadly I do not possess any of her creations but they do have a vivid presence in my mind.
It is amazing how a simple yarn and a hook can come together to form a variety of patterns. I have done various doilies in many sizes. Squares have been on my ‘have-to-try’ list for long. Finally the day came and guess what, they turned out to be fairly simple. A sample here and there and finally I tried out one of my own. And the results are rather satisfying. I am glad to share my granny square pattern here.
This granny square tutorial is done using two colours but you can easily add more colours if you wish.
I am not an expert at writing patterns but I have tried to make it as simple as possible. Hope this helps. If there is any confusion please leave a note in the comment section. I will be most happy to help.
Granny Square Pattern
Material:
Crochet hook – 3mm
Yarn – 4 ply in two colours of choice referred to as colours A and B
Stitches used – Chain (ch), Single crochet (sc), Double crochet (dc), Slip stitch (sl st)
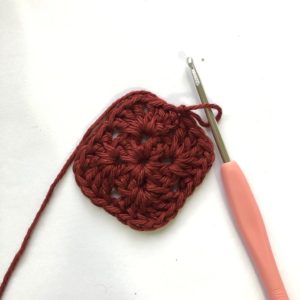
Begin with colour A by making ch 5 and slip stitch to first chain to form a ring.
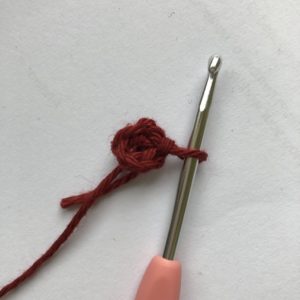
Round 1: Ch 3 (counts as first dc), 11 dc in ring. Slip stitch on top of Ch 3 to join. We have 12 dc in ring, including the first ch 3.
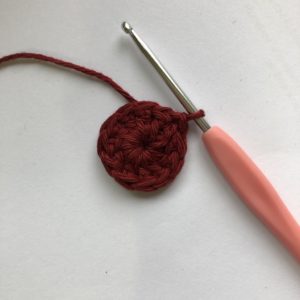
Round 2: Slip stitch to space between two stitches.
Ch 3 (counts as first dc), 2 dc, 1 ch, 3 dc in same space. *Skip next 2 spaces. In the third space 3 dc, 1 ch, 3 dc in same space.** Repeat from *to** two more times. We now have 4 clusters of 3 dc, 1 ch, 3 dc. Fasten off.
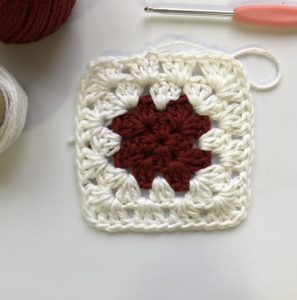
The square is taking shape now. We have the four sides and four corners.
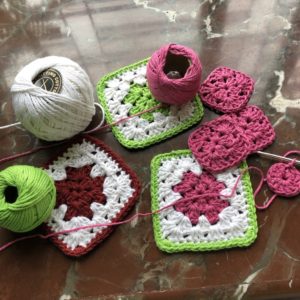
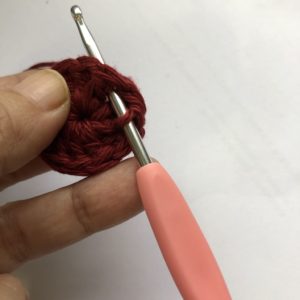
Join Colour B in between two 3 dc cluster on the side. The following picture will give a clearer idea.
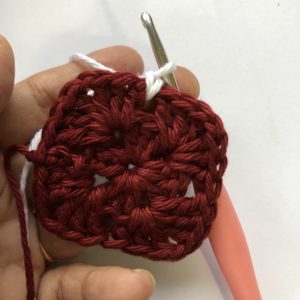
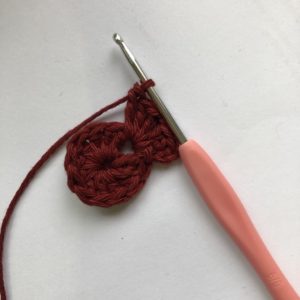
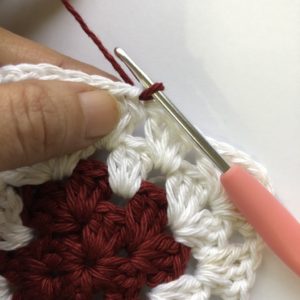
Round 3: Ch 3 (counts as first dc), 2 dc in same space. *3 dc, 1 ch, 3d in corner space. 3 dc in next space on side.** Repeat from * to ** twice. In the last corner, 3 dc, 1ch, 3dc. Join with slip stitch on top of Ch 3. We now have four corners and two spaces on each side.
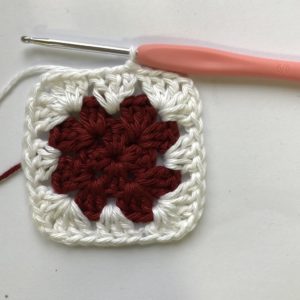
Round 4: Slip stitch to space between 3 dc clusters.
Ch 3 (counts as first dc), 2 dc in same space. 3 dc, 1 ch, 3d in corner space. 3 dc in next space on side. *3 dc in next space. 3 dc, 1 ch, 3d in corner space. 3 dc in next space on side.** Repeat * to ** twice. We now have the four corners and three spaces on each side. Fasten off.
Join Colour A in any stitch on the side. Note here that we are NOT adding between stitches BUT in a stitch.
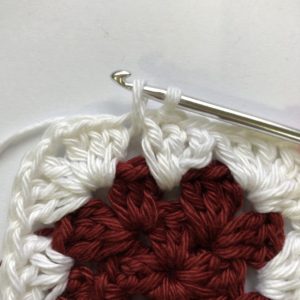
Round 5: Ch 1. Sc in each stitch on the side and 3 sc in each corner space.
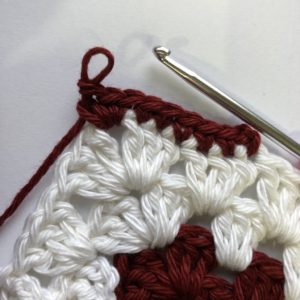
Repeat all around. Join with slip stitch to the first ch 1. Fasten off.
The complete square will appear a little shrunk on completion. We need to pull the corners and bring it into shape.
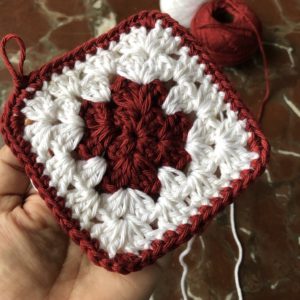
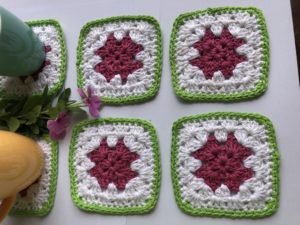
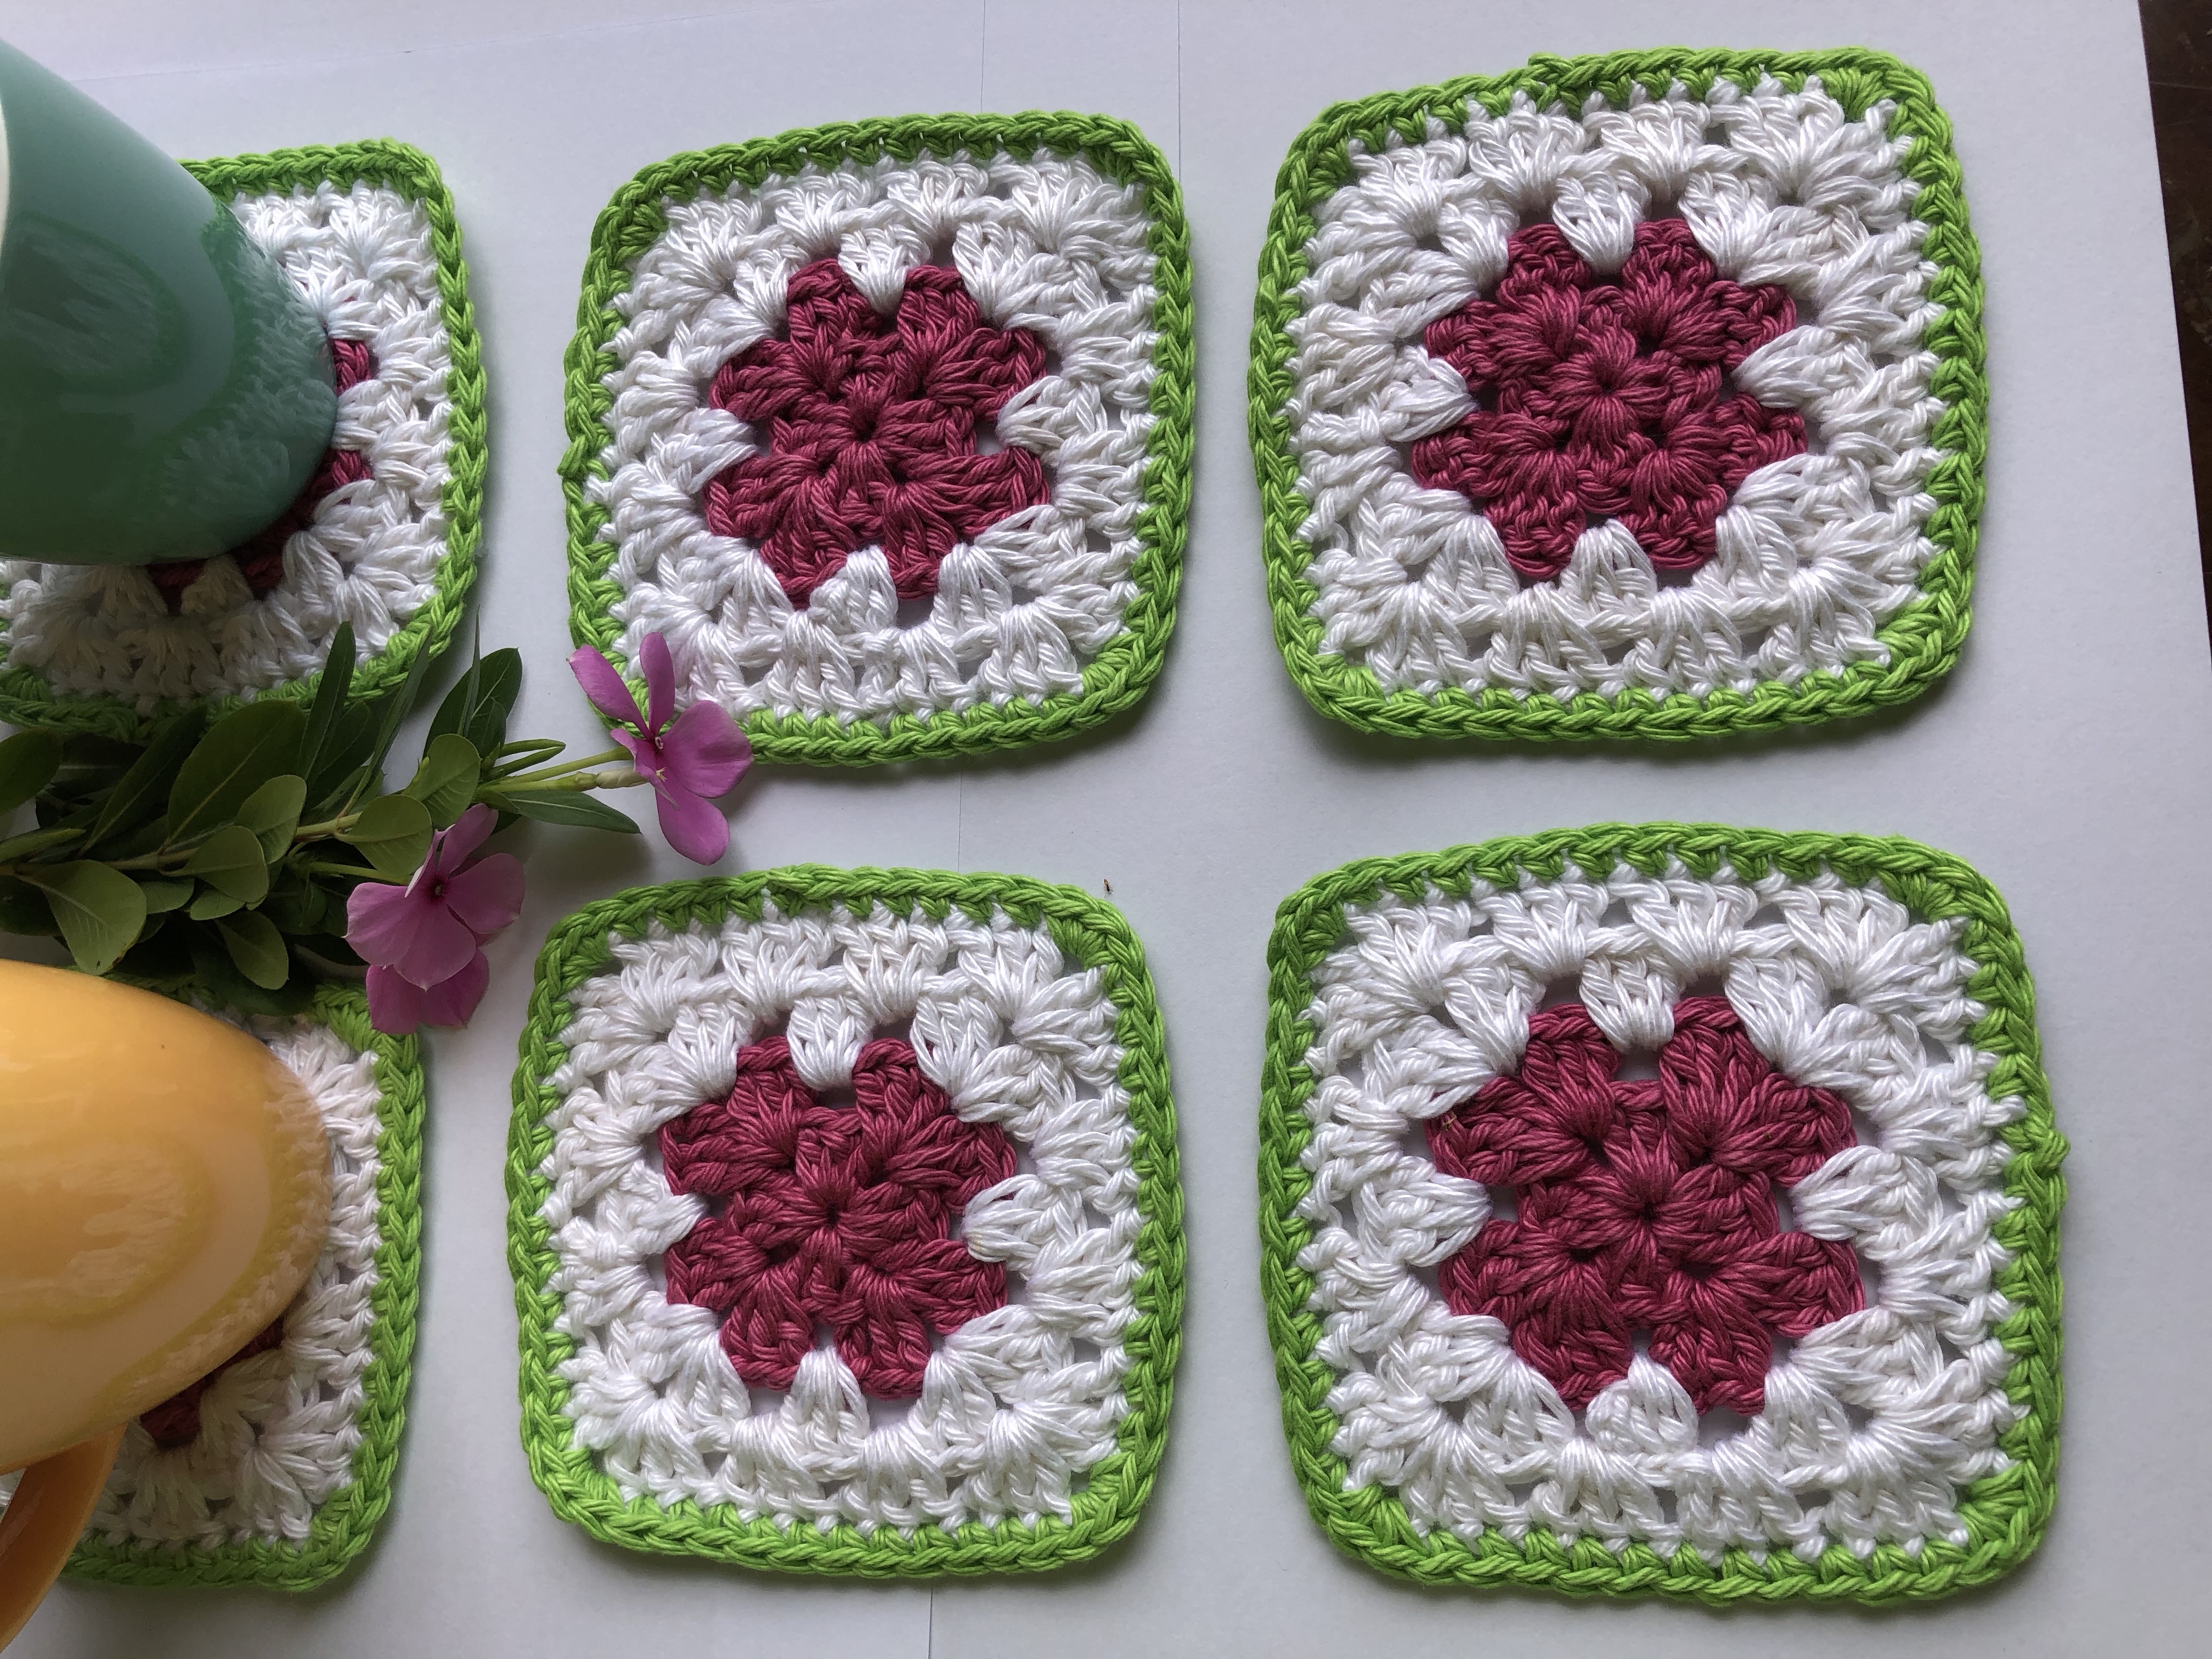
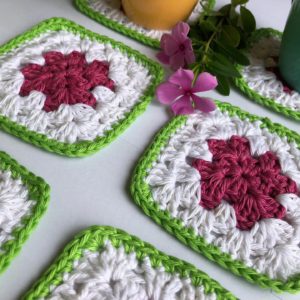
Our granny square is complete.
With the same pattern I used three colours to make this granny square coaster set.